Even though my title says "simple" this was my first elastic waistband skirt so I took my time and of course made a few little mistakes, but overall I'm pretty happy with the finished results!! I found the idea from a really cute blog
here.
 |
| Material from Hancock Fabrics & black knit elastic |
 |
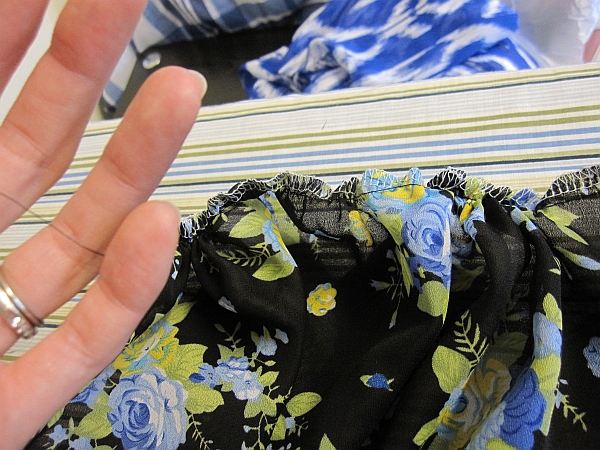
| A detailed view of the fabric |
You will want enough elastic to go around your waist. Measure around your waist and add about an inch for the seam allowance. Don't be afraid to pull the measuring tape tight around your waist. I measured to big and had to take in the elastic just a little. Remember that it will stretch so you can make it smaller. You don't want the skirt to be too loose.
 |
| Measure how long you need your elastic |
 |
| Sew the elastic together and backstitch at both ends |
 |
| Sew down each side to the band with a zig-zag type stitch |
 |
| The finished band will look like this |
Since I made the band too big I cut at the other side and did the same steps as above. It worked out for me to have two reference points on the sides later on.
 |
| Reference for each side |
Then I cut the fabric. Which I hate the MOST about sewing. Love the sewing part and despise the cutting because I am not the best at making sure everything is perfect and equal. Since this skirt gets gathered at the top if you are off just a little with cutting you cant really tell. :) I made my skirt 17" long from the bottom of the elastic to above my knees and the skirt was a total of 84" wide. When you fold your fabric you can measure out 42" then you have one long piece that becomes 84". I had to fold the fabric differently and then cut the two pieces separately which ended up giving me two side seams instead of one. (hopefully that makes sense - or refer to the blog I found this from
here cause she explains it better).
 |
| Serged the ends to look more professional & avoid unraveling |
 |
| My side seams looked like this |
Then my next step is probably backwards from most sewing projects. I went ahead and rolled the hem up since I have one long and easy piece of fabric to maneuver. You can also do this as your final step if you want to put it on and double check the length but I was pretty confident it was okay.
 |
| Rolled and pressed hem |
Once you sew the sides together you have one large piece of fabric. This is when you will gather the top of your fabric. If you have a serger you can gather it that way, but I used the basic method of making a long basting stitch (don't backstitch the ends). Then you pull on one side of the string to gather the fabric. Even out the gathering as you pull.
 |
| Pulling on one side of the string to gather. You can do this at both ends |
 |
| You can see the gathering all around |
Pin the elastic to the skirt and that will also help you see where you need to alter or fix the gathering to make it the same width as your elastic.
 |
| Pinned to the waistband |
Then you will sew the skirt to the waistband. The best way to do it is sewing from the "right" side of the elastic. That way you can be sure you sew a straight line all the way around. Sew two lines so that you know that skirt is secure to the band.
 |
| Right side of the skirt - pull pins as you go |
 |
| Helps you keep a straight line and sew another line closer in |
I love this skirt and I could see myself making another with a more cotton (easy to sew with) fabric. This fabric was a polyester/silk/chiffon type fabric. Here is the finished skirt!
Thanks for checking out my blog!
-Colby


.jpg)